Wednesday 21 May 2014

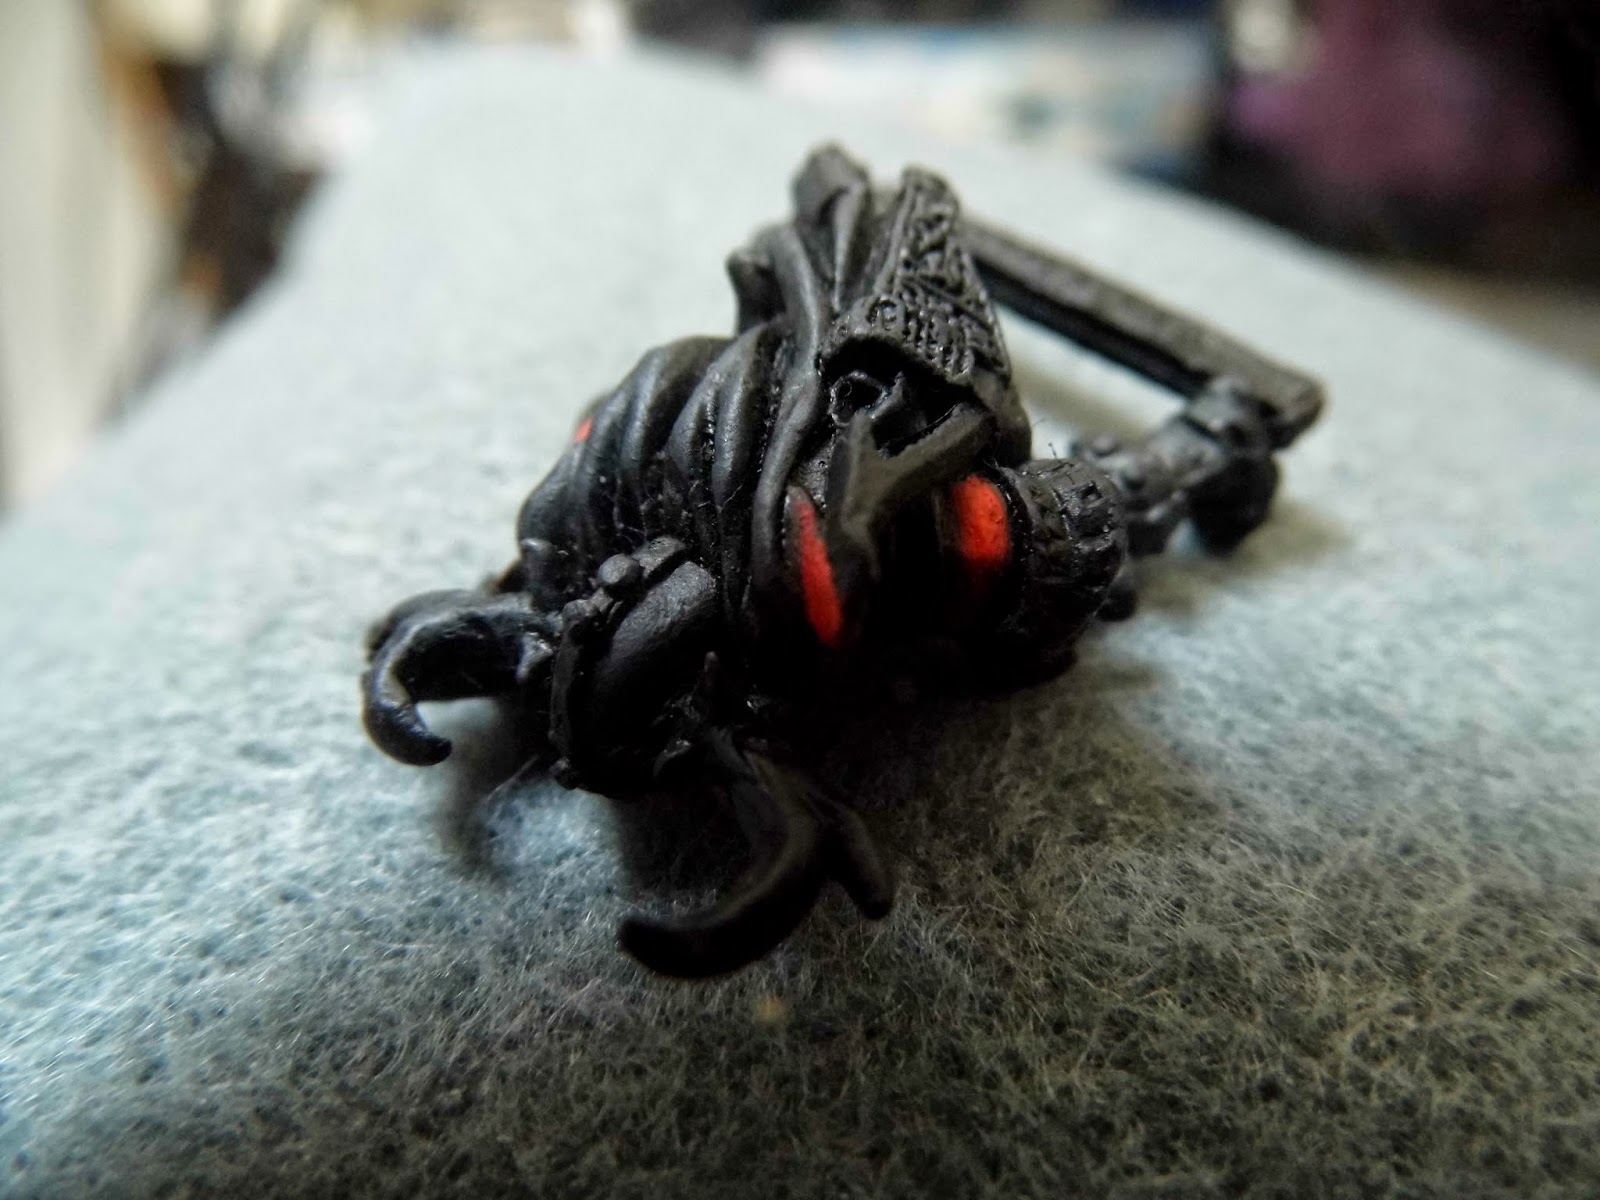
28mm Desert Warrior Commission

For some reason I started with the  bronze armour and sword, I think, because I had some left over from another project. I used GW Shining Gold with a Sepia wash, dry brushed with Shining Gold and some Bolt Gun Metal.  The cloak was dry brushed with German Grey from Vallejo followed by French Grey Blue and the dark flesh wash built up from the Lifecolor flesh set using dark reddish brown and tan with 5 - 7 successively lighter shades.

 I touched up the bronze, then touched up the cloth and popped in the whites of the eyes using Vallejo Pale Sand. Three colour scheme, really simple. I could improve it by dry brushing up the bottom of the cloak to show dust and wear. No doubt there are many improvements but that would be my first.


I think the kilt  should be cloth / linen but I thought it would look better as armour, breaking up what would otherwise be a  large expanse of black.

Friday 16 May 2014

Painting red armour


Just a quick note to my son on how I do red armour.

Starting from a black based figure -With a yellow base - 2 thin coats.


 Then 2 thin coats of deep red.


 Then 2 thin coats of dark orange applied each applied to
a smaller area than before and towards the reflected light.


Then  two  thin coats of bright orange, again each smaller than the last and  moving towards the reflected light.


Then a thin glaze of red ink.followed by

 two more receding coats of
 bright orange as final highlights


Finally, a wash of dark reddish brown into the shadows.


or...


Using  reddish brown base -


Two thin coats of red and two thin coats of deep orange, each small then the last and moving towards the  reflected light and towards tips, edges and centres of small areas.


 Two thin coats of bright orange - again towards reflected light, tips, edges and centres.


 A thin wash of red ink followed by two more highlights with bright orange.


And a final thin  red- brown wash in any shadow areas. Smaller areas need to be brighter overall  than larger areas otherwise they are lost.

Saturday 10 May 2014

28mm Paladin

Another commission piece finished today  much quicker than yesterday's work. white use  Vallejo Wolf grey base with white built up over two or three coats. The grey for the gloves formed the base for the silver. mace head and shield face washed with Tamiya Smoke. I tried to paint a glass bottle but didn't really come out.


Friday 9 May 2014

Ugly Heroes - 28mm Commission figures

Budget level commission, colours of armour and weapons as per customer's request.

Out of the seven figures in the commission these two were the hardest to identify from the written descriptions, so I got them out the way first. need to get them all finished in the next two weeks. At the client's budget I need to paint a figure within an hour though I been painting these two all day (along with twenty 15mm of my own) , so I've no idea how much time went in to them, probably a lot more than an hour each. The shields are painted with gilt varnish -  so that's real gold!! :)

Got some more knightly types coming up, so hopefully start them tomorrow.
Had fun playing with various metallics on the sword. I was after a flame effect in golds, silvers and white. Not sure whether it works or not but it's done and I'm not redoing it! next time I have white armour to do I'll go back to base white with a blue wash rather than build the white up on top of blue. This one took too long and doesn't look as clean as I'd like it to. By not putting a dark wash over the gold mail skirt the mail skirt looks finer, less coarse. I made a mistake putting the sepia wash over the bleached wooden backs of the shields. They looked better before the wash so that's another thing to remember. Onwards and upwards...

Thursday 8 May 2014

Fish Warrior


28mm Fish Warrior

This is part of a small commission of 28mm fantasy figures. My customer wanted sea blue and green armour clothing, with a blue helmet, metal trident, and a shield made from shell.

Building up from a black base I blocked in  the rear skirt, gloves and webbed bits in  mid green then applied highlights and washes of dark grown to tone down. Antique gold  was applied to the scale armour , then ink washed in dark blue and yellow sepia and rubbed back to gold with a cotton bud.

The skirt fronts were blocked in dark grey and a brown wash, after looking at some colour combinations on cichlids, along with an orange edge to add a little interest.


I mixed a greenish blue for the armour on helmet,chest and shoulders, then dry-brushed highlights. I used  a sepia yellow wash to add to the greenish tone and brown washes to give more shadow. Teeth, lure and the face covering were worked up from yellow ochre to off white. Belts and straps were red leather brown from vallejo. There was a small cylindrical object in the belt which I painted as a bone cartouche.


The helmet was spotted with yellow ochre to break up the blue and to outline the eyes and nostrils. I didn't think a completely shell shield would work, so the reverse was painted as bleached wood.


I had the most fun with the shield - looking up images of iridescence, I was tring to capture the   yellows,blues, pinks and purplish colours that are refracted by mica. I started with a green base for the shield to provide shadow and then  some thin layers of white, for an uneven , translucent look. various shades of yellow ochre,  corn blue and pale burgundy were dry brushed on to the  surface, followed by more layers of white to get the patchy patina of a mica surface. 

The sides of the robe were shaded from light blue to deep purple to frame the gold scale armour and to balance out the light shades at the top of the figure.

A  gilt  bronze  plate set with white shells was washed with green intended to reflect the effects of corrosion on bronze, likewise the steel trident was  given  thick layers of rust lightening from dark brown to  orange, dry brushed in steel and silver, with a final brown wash to tone it all down.

Fishing Friar

Here's something I entered for a duel at Bennos Figures. Didn't do too badly and I learnt a lot on the way as it was the first time I tried to make  realistic water.

I also experimented with Noch laser cut printed foliage. Not overly impresed with these though. The bullrushes are a little weedy and the seed itself is very flat, so I painted it to look a little more three dimensional.  I've just realised it would look great with a vignette of 30mm flat figures.
Had fun painting a 1/72nd carp and perch from Preisser. The  figure is  from Valdemar Figures I believe. I converted him to a  monk, expressing my inner hermit!

 I tried to showed the various layers of geology as the river had cut through them over time. 

Originally the  sides of the vignette showed the  underlying stratigraphy, but this was lost when the resin water glued the shutters tight and I had to incorporate them.


The water took ages to dry, used capillery action to climb up my shutters and spread across the grass! When the shutters were removes the still soft lower layers started to bulge out. Plastic sprue was used for the branch / rod and human hair  for the line.


Wednesday 7 May 2014

Mr Apatosaur

Built this little dio in 1/72 for Bennos figures forum.  The theme was 'I met a monster', so I had a think and came up with the idea of  some children seeing their first dinosaur. Set in the 50's or 60's USA, our children and their carer, take a trip out into the desert to see the excavation....

Here's the whole scene; see if you can spot the fossils!


This shot shows the assistant as he takes a break from clearing away the spoil.  He comes from a Noch set of workmen. A couple of metres to his right is a  much smaller relative from the Prieser animals set.


Here's the supervisor explaining something about 'Mr Apatosaur' to the visitors.  'Mr Apatosaur was very big for his time, even compared to his friends!' (He's a little over 1/72 but I'm not up to sculpting dinosaurs yet). The Supervisor is a Prieser US WW2 mechanic.


I tried a long view, not great for my new camera as I haven't worked out manual F stop yet, but I was pleased how the monitor picture worked as a background.


And to finish, Ma takes a picture of the Apatosaur skull. She was a Noch journalist and the kids came from a very rough train passengers set. I had a lot of fun making this and hope you like it. Thanks for dropping by.